We extend our heartfelt welcome to this all-encompassing guide on the art of synchronizing LED lights with a remote! If the wonders of effortlessly controlling your LED lighting setup have ever tantalized your curious mind, you have indeed found yourself in the right place. Embrace the journey ahead, for within these sacred words, we shall unveil the simple yet potent methods that shall harmoniously bind your LED lights and remote, endowing you with the divine power to craft the perfect ambiance at your fingertips.
Whether you revel in the depths of technological marvels or merely seek to elevate the sacred experience of home lighting, we assure you that our expertise knows no bounds. So, without further ado, let us plunge into the mystical waters of knowledge and unravel the closely-guarded secrets of LED light remote synchronization!
Understanding the Intricacies of LED Strip Lights and Their Controllers
Before embarking on the exciting journey of syncing LED strip lights and experiencing the mesmerizing interplay of vibrant colors, let’s delve into the fascinating realm of how these luminous wonders function. This foundational knowledge will be instrumental in comprehending the subsequent steps required for synchronizing a remote to your LED strips.
The Crucial Role of LED Strip Light Controllers:
In the realm of contemporary illumination solutions, the embodiment of innovation lies in LED strip lights, which present a distinctive approach to power supply. These illuminating wonders do not directly draw power from the mains; rather, they rely on a crucial intermediary known as the controller, occasionally referred to as the driver. The controller assumes a dual role, bearing vital responsibilities:
Firstly, it deftly steps down the voltage, acknowledging the fact that most LED strips operate optimally at low voltage levels of either 12 volts or 24 volts. By doing so, it ensures energy efficiency and mitigates potential safety hazards. Connecting LED strips directly to the mains voltage could prove catastrophic, risking damage to the LED strips themselves and even sparking perilous fire incidents. With its proficiency in voltage regulation, the controller serves as a guardian, maintaining the LED strips’ safety, averting potential disasters, and significantly prolonging the lighting system’s lifespan.
Secondly, the controller bestows a unique empowerment upon users, endowing them with complete dominion over the LED strip lights. Gone are the days of dependence on a mere power outlet’s switch; the controller introduces a plethora of user-friendly features. It incorporates intuitive buttons, facilitating easy manual control for those who prefer a tactile approach. Moreover, it embraces compatibility with remote controls, enabling users to effortlessly manage the luminous ambiance from a distance, thus adding a touch of seamless convenience to the experience. This control flexibility allows for personalized lighting arrangements, catering to diverse preferences and moods with remarkable ease.
Diverse Types of LED Strip Lights and Controllers:
While the majority of LED strip lights are low voltage and necessitate controllers to operate efficiently, it’s essential to be aware that there are exceptions:
- High-Voltage LED Strips: Although less prevalent, high-voltage LED strips do exist and can directly run on mains power. These strips eliminate the need for a separate driver but are less commonly encountered due to their specific requirements and potential safety concerns;
- Wide Variety of Controllers: LED strip light controllers come in various types and functionalities, catering to diverse preferences and lighting setups. Some controllers offer basic features with manual controls, while others boast advanced options, such as smartphone app integration, voice control compatibility, and synchronization with music or ambient sounds.
Syncing LED Strip Lights Using Multiple Controllers: Illuminate Your Space with Seamless Harmony
If you’ve adorned your living space with mesmerizing LED strip lights, you’re already familiar with the captivating ambiance they create. However, what if you could take your lighting game to the next level? Imagine syncing all your LED strip lights to a single remote control, effortlessly controlling them as if they were one cohesive masterpiece. In this comprehensive guide, we’ll unravel the secrets of synchronizing LED strip lights using multiple controllers, enabling you to achieve a seamless harmony of colors and lighting effects.
Ensure Your LED Strip Lights are Switched On: A Prerequisite for Synchronization
Before embarking on the journey of synchronizing your LED strip lights, ensure they are switched on. While this step may not be mandatory for all LED strips, most require power to facilitate synchronization. It’s essential to understand that the synchronization process occurs between the remote control and the LED controller, which remains powered as long as the outlet is switched on. Thus, make sure your LED strip lights are energized, ready to embark on this luminous adventure.
Hold Down the Sync Button on Your Remote: Initiating the Dance of Light
Embarking on the enchanting journey of synchronization begins by pressing the sync button on your remote, which varies in appearance and labeling based on the model and manufacturer. To find the exact button, refer to the manual or contact the manufacturer. Armed with this knowledge, you can confidently sync your LED strip lights to create a dazzling symphony of luminance.
Tips and Recommendations for Successful Synchronization:
- Consider purchasing LED strip lights from the same manufacturer to ensure compatibility with a single remote control;
- If you’re planning to buy new LED strip lights for synchronization, verify their compatibility before making a purchase;
- Some LED strip lights may come with synchronization limitations; conduct thorough research to avoid disappointment;
- While synchronizing, make sure the remote control is within the range of all the LED controllers for seamless operation;
- If possible, opt for RGB LED strip lights with color-changing capabilities to maximize the creative potential of synchronization.
Once you’ve successfully synchronized your LED strip lights using multiple controllers, you’re in for a visual treat. Revel in the symphony of light as your space comes alive with vibrant colors, smoothly transitioning patterns, and personalized lighting effects. Each LED strip dances in harmony, elevating the atmosphere of your room to new heights.
Syncing LED Strip Lights Using a Single Controller: Illuminate Your Space with Ease
In this comprehensive guide, we’ll walk you through the process of syncing your LED strip lights using a single controller, ensuring a well-lit and captivating ambiance in your space.
Step 1: Calculate the Amperage Required for Your Strip Lights
Before diving into the world of synchronized lighting, you must determine the amperage required by your LED strip lights. This crucial step ensures that the chosen controller can handle the electrical load without any hiccups. Here’s how you can calculate the amperage:
1.1. Identify the Watts Used: Start by identifying the wattage consumed by each LED strip. For instance, a typical 16-foot light strip with white LEDs generally consumes 24 watts. However, it’s vital to check the specifications of your specific LED strips, as the wattage may vary based on the type of strip and LED density.
1.2. Compute the Amperage: To calculate the amperage, divide the wattage by the voltage. Most LED strips operate at 12V, so you’ll use this voltage for your calculation. For example, if your LED strip consumes 24 watts, the amperage will be 24W / 12V = 2A.
1.3. Total Amperage: Repeat this process for each LED strip you wish to sync and sum up the individual amperage to get the total amperage of your strip lights.
Step 2: Choose a Suitable Controller
With the amperage requirements in hand, the next step involves selecting an appropriate controller capable of handling your LED strip lights’ combined load. Keep in mind that some controllers are limited to handling lower amperage, so if you have multiple LED strips, you must find a controller that meets your needs. Here’s what to consider:
2.1. Amperage Capacity: Ensure that the chosen controller can handle the total amperage of all your LED strips. For example, if the combined amperage of your LED strips is 6A, using a 6A-rated controller may leave no room for future expansions. Opt for a higher capacity controller to allow for additional LED strips if desired.
2.2. Number of Strips: If you plan to connect more than three LED strips to a single controller, consider opting for shorter strip lengths to remain within the controller’s amperage limit.
Step 3: Connect Your LED Strip Lights to the Controller
Now that you have the right controller in hand, it’s time to sync your LED strip lights and bask in the captivating glow of unified lighting. Follow these steps for a seamless setup:
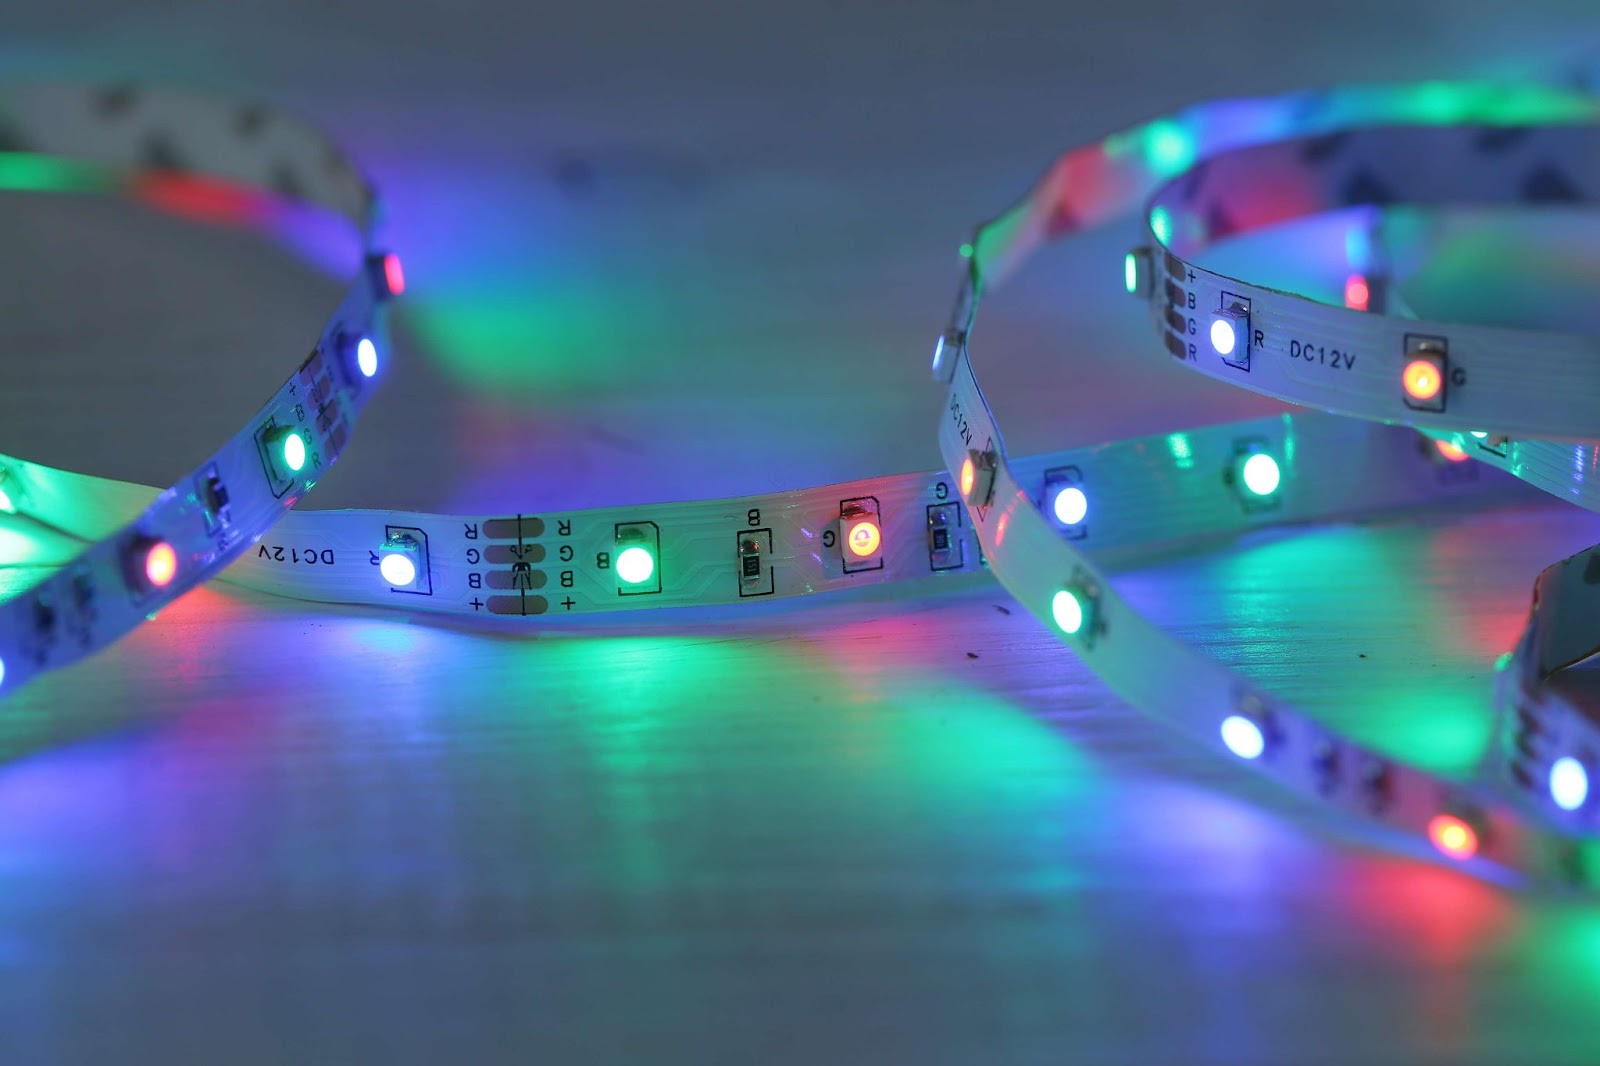
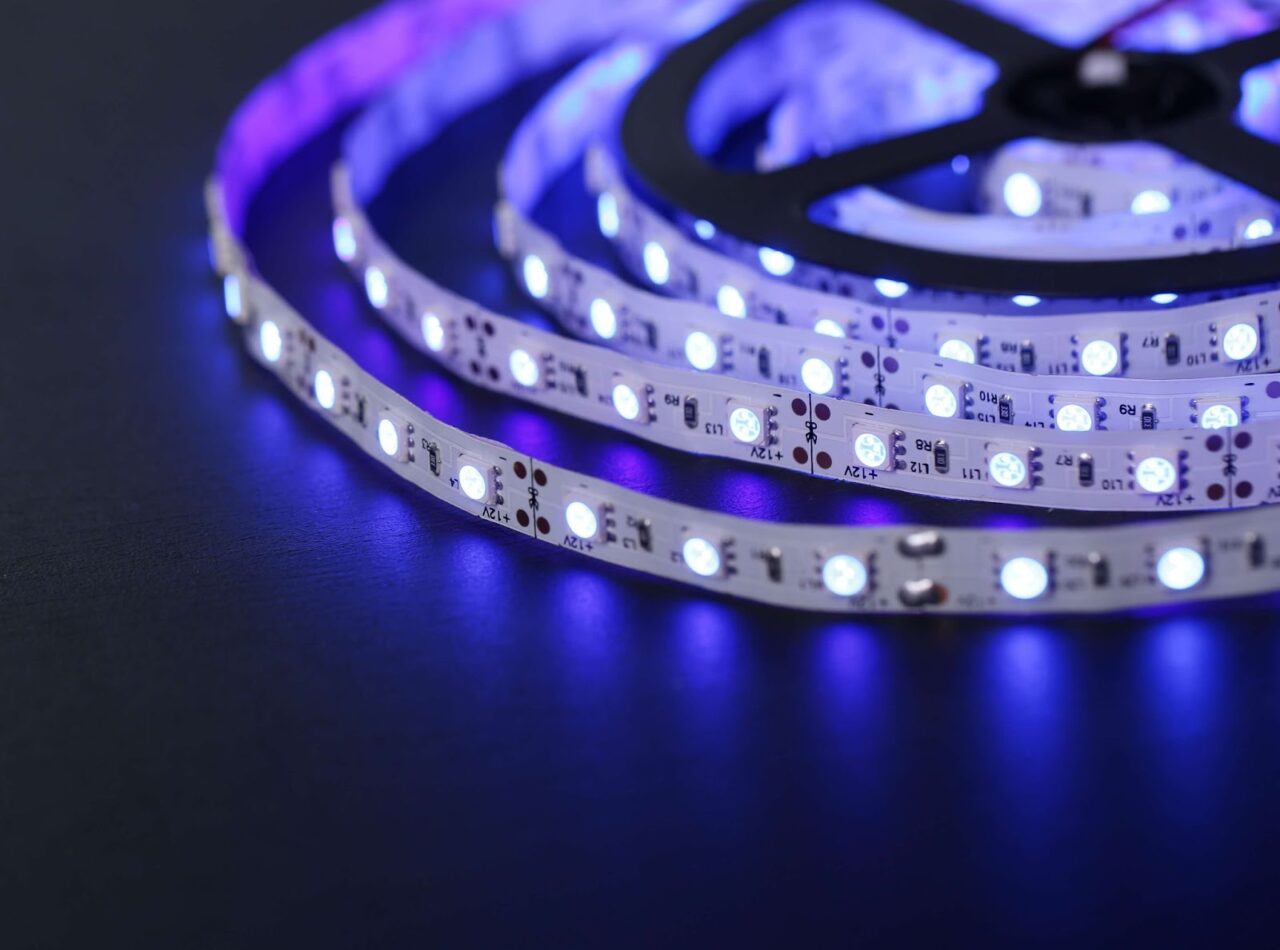
3.1. Syncing Connectors: Check if your LED strips come with syncing connectors pre-attached. These connectors often use 4-pin designs to link multiple strips together. For bare strips without connectors, employ solderless connectors to clamp onto the pins securely.
3.2. Controller Setup: Plug each connector into the designated ports on the controller. Once connected, your LED strips will be ready for central control.
3.3. Multi-Zone Remote: In the realm of controllers, a prevalent feature emerges – the multi-zone remote, an ingenious device that bestows upon users the unparalleled convenience of commanding either individual strips or the entirety of strips in harmonious unison. This multifaceted controller boasts an array of numbered buttons, each deftly assigned to correspond with a specific strip, granting swift and effortless access to the desired luminous arrangement.
Syncing Multiple LED Light Bulbs on One Remote: A Simple Guide to Achieve Brilliant Illumination
Unlike the conventional remote-controlled LED strip lights, which usually require a separate controller unit, some LED light bulbs come with an ingenious built-in controller right in the bulb’s base. This innovative design allows you to directly communicate with the bulbs using a single remote control, streamlining the setup process.
Affordable and User-Friendly Options
These remote-controlled LED light bulbs are not only efficient in terms of lighting but also budget-friendly. The upfront cost is significantly lower than investing in smart bulbs, making them an appealing choice for those seeking a simple and cost-effective solution to illuminate their spaces.
Achieving Synchronized Brilliance: How It Works
The process of syncing multiple LED light bulbs on one remote is surprisingly straightforward. If you want to enjoy the convenience of controlling all the bulbs simultaneously, all you need to do is follow these simple steps:
- Purchase identical LED light bulbs with built-in remote-controlled technology. Opt for the same model and brand to ensure seamless compatibility;
- Install the bulbs in their respective fixtures and power them on. Remember, these bulbs work automatically with any one of the remotes provided with each bulb;
- Point the remote at any of the bulbs and adjust the settings to your liking. The remote’s signal will be received by all the other bulbs, and they will respond accordingly.
The Limitations of Non-Smart LED Bulbs
While syncing multiple LED light bulbs to one remote is a remarkable feature, it comes with some limitations. These bulbs lack the sophisticated technology found in smart bulbs, which can be individually controlled through smartphone apps. Here are some of the drawbacks:
Limited Customization: Non-smart LED bulbs may offer basic control functions like turning on/off, brightness adjustments, and color changes (if applicable). However, they lack the advanced features and customizable options available in smart bulbs.
No Individual Control: Since these bulbs do not possess unique signals, you cannot control them individually using a single remote. This may be a drawback if you have specific lighting preferences for different areas or wish to create different moods.
Conclusion
Throughout this step-by-step guide, we have explored the fundamental principles and techniques necessary to achieve seamless synchronization between the LED lights and remote controllers. By following these guidelines, professionals and enthusiasts alike can create visually stunning and captivating visuals that were once only possible with intricate and expensive setups.